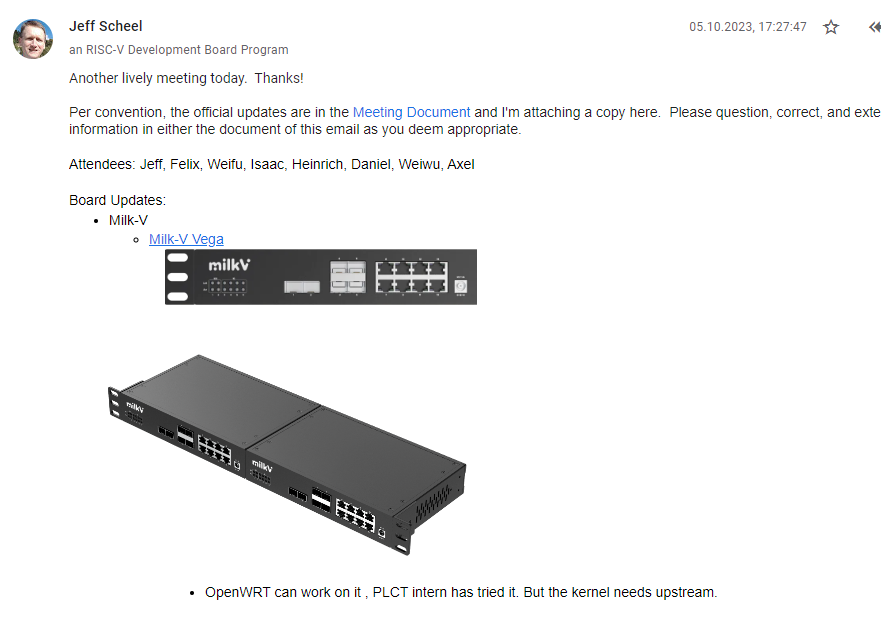
We’ve released an OpenWrt image that is easily flashable via the vendor firmware, and is fully open source, including the driver. The whole stack is now up to date, inlcuding latest OpenSBI, u-boot and Linux and running on OpenWrt latest. The driver is a work in progress but should provide some basic switching features. Note that no SFP is currently supported at all, but once this first part is stable, I can work on it.
Here’s install instructions from the repository. The files are built from Github and available at the release page on Github.
Installing OpenWrt on the Milk-V Vega
How to install this OpenWrt build on the Milk-V Vega stock firmware, via network only.
The install has two stages:
- From the vendor firmware, write the OpenWrt bootloader and a recovery
initramfs into flash.
- Boot that recovery OpenWrt and flash the full image with
sysupgrade.
You need three files from a build (./build.sh, output in
bin/targets/milkv_vega/milkv_vega/):
| File |
Stage |
What it is |
vega-spl.bin |
1 |
OpenWrt bootloader (OpenSBI + U-Boot + DTB) for NOR |
…-initramfs-uImage |
1 |
RAM-only recovery OpenWrt (~11 MB) |
…-ubifs-sysupgrade.bin |
2 |
The full OpenWrt image (~15 MB) |
Stage 1
Log into the vendor firmware as root and copy the two files onto it — e.g.
serve them from your PC (python3 -m http.server 8080) and wget them:
cd /tmp
wget http://<your-pc>:8080/vega-spl.bin           -O spl.bin
wget http://<your-pc>:8080/<...>-initramfs-uImage -O init.uImage
Write the bootloader to NOR:
flashcp -v /tmp/spl.bin /dev/mtd0 # mtd0 = "freeloader" (NOR)
Write the recovery image to NAND. The vendor’s kernel_nand (mtd4) is only
4 MB, but the recovery image is ~11 MB, so it spans kernel_nand (mtd4) and
the start of ramfs_nand (mtd5). Split it at the 4 MB boundary:
dd if=/tmp/init.uImage of=/tmp/i1 bs=1M count=4
dd if=/tmp/init.uImage of=/tmp/i2 bs=1M skip=4
flash_erase /dev/mtd4 0 0 && nandwrite -p /dev/mtd4 /tmp/i1
flash_erase /dev/mtd5 0 0 && nandwrite -p /dev/mtd5 /tmp/i2
Power-cycle the board.
Stage 2
The new bootloader auto-detects the recovery image’s size, reads it, and boots
RAM-only OpenWrt. Give it ~2 minutes; br-lan then answers at 192.168.1.1.
From your PC (192.168.1.2):
ping 192.168.1.1
Flash the full image one of two ways.
Option A — LuCI web UI (easiest)
- Browse to http://192.168.1.1/ and log in as root with no password.
- System → Backup / Flash Firmware.
- Upload
…-ubifs-sysupgrade.bin, leave Keep settings unchecked, click
Flash image…, and wait for it to write and reboot.
Option B — SSH / command line
scp <...>-ubifs-sysupgrade.bin [email protected]:/tmp/fw.bin
ssh [email protected] 'sysupgrade -n /tmp/fw.bin'
Either way the console shows verifying sysupgrade tar file integrity →
Writing … to kernel_nand → sysupgrade successful → reboot. The board
then runs the full OpenWrt from NAND (UBIFS root).