Trouble getting Pioneer V1.2 board to boot

I just received a Pioneer V1.2 board and, like others in this forum, have been having a difficult time getting it to boot.

The only thing that happens when I power on is I see a solid green light underneath the board and a flashing green light to the right of the upper PCIE slot.

For RAM, I am using Nemix-branded (what I believe are) Samsung 128GB (4X32GB) 1.2V DDR4 3200MHZ PC4-25600 RDIMM 2RX4.

I have also tried Samsung-branded 128GB (4x32GB) 1.2V DDR4 2666MHZ PC4-21300 RDIMM 2RX4 (M393A4K40CB2-CTD), but same result.

I have tried with a few different video cards (AMD 7800 XT, Nvidia GeForce 1080 TI, and some much older AMD cards, not sure what model numbers), but get no video output.

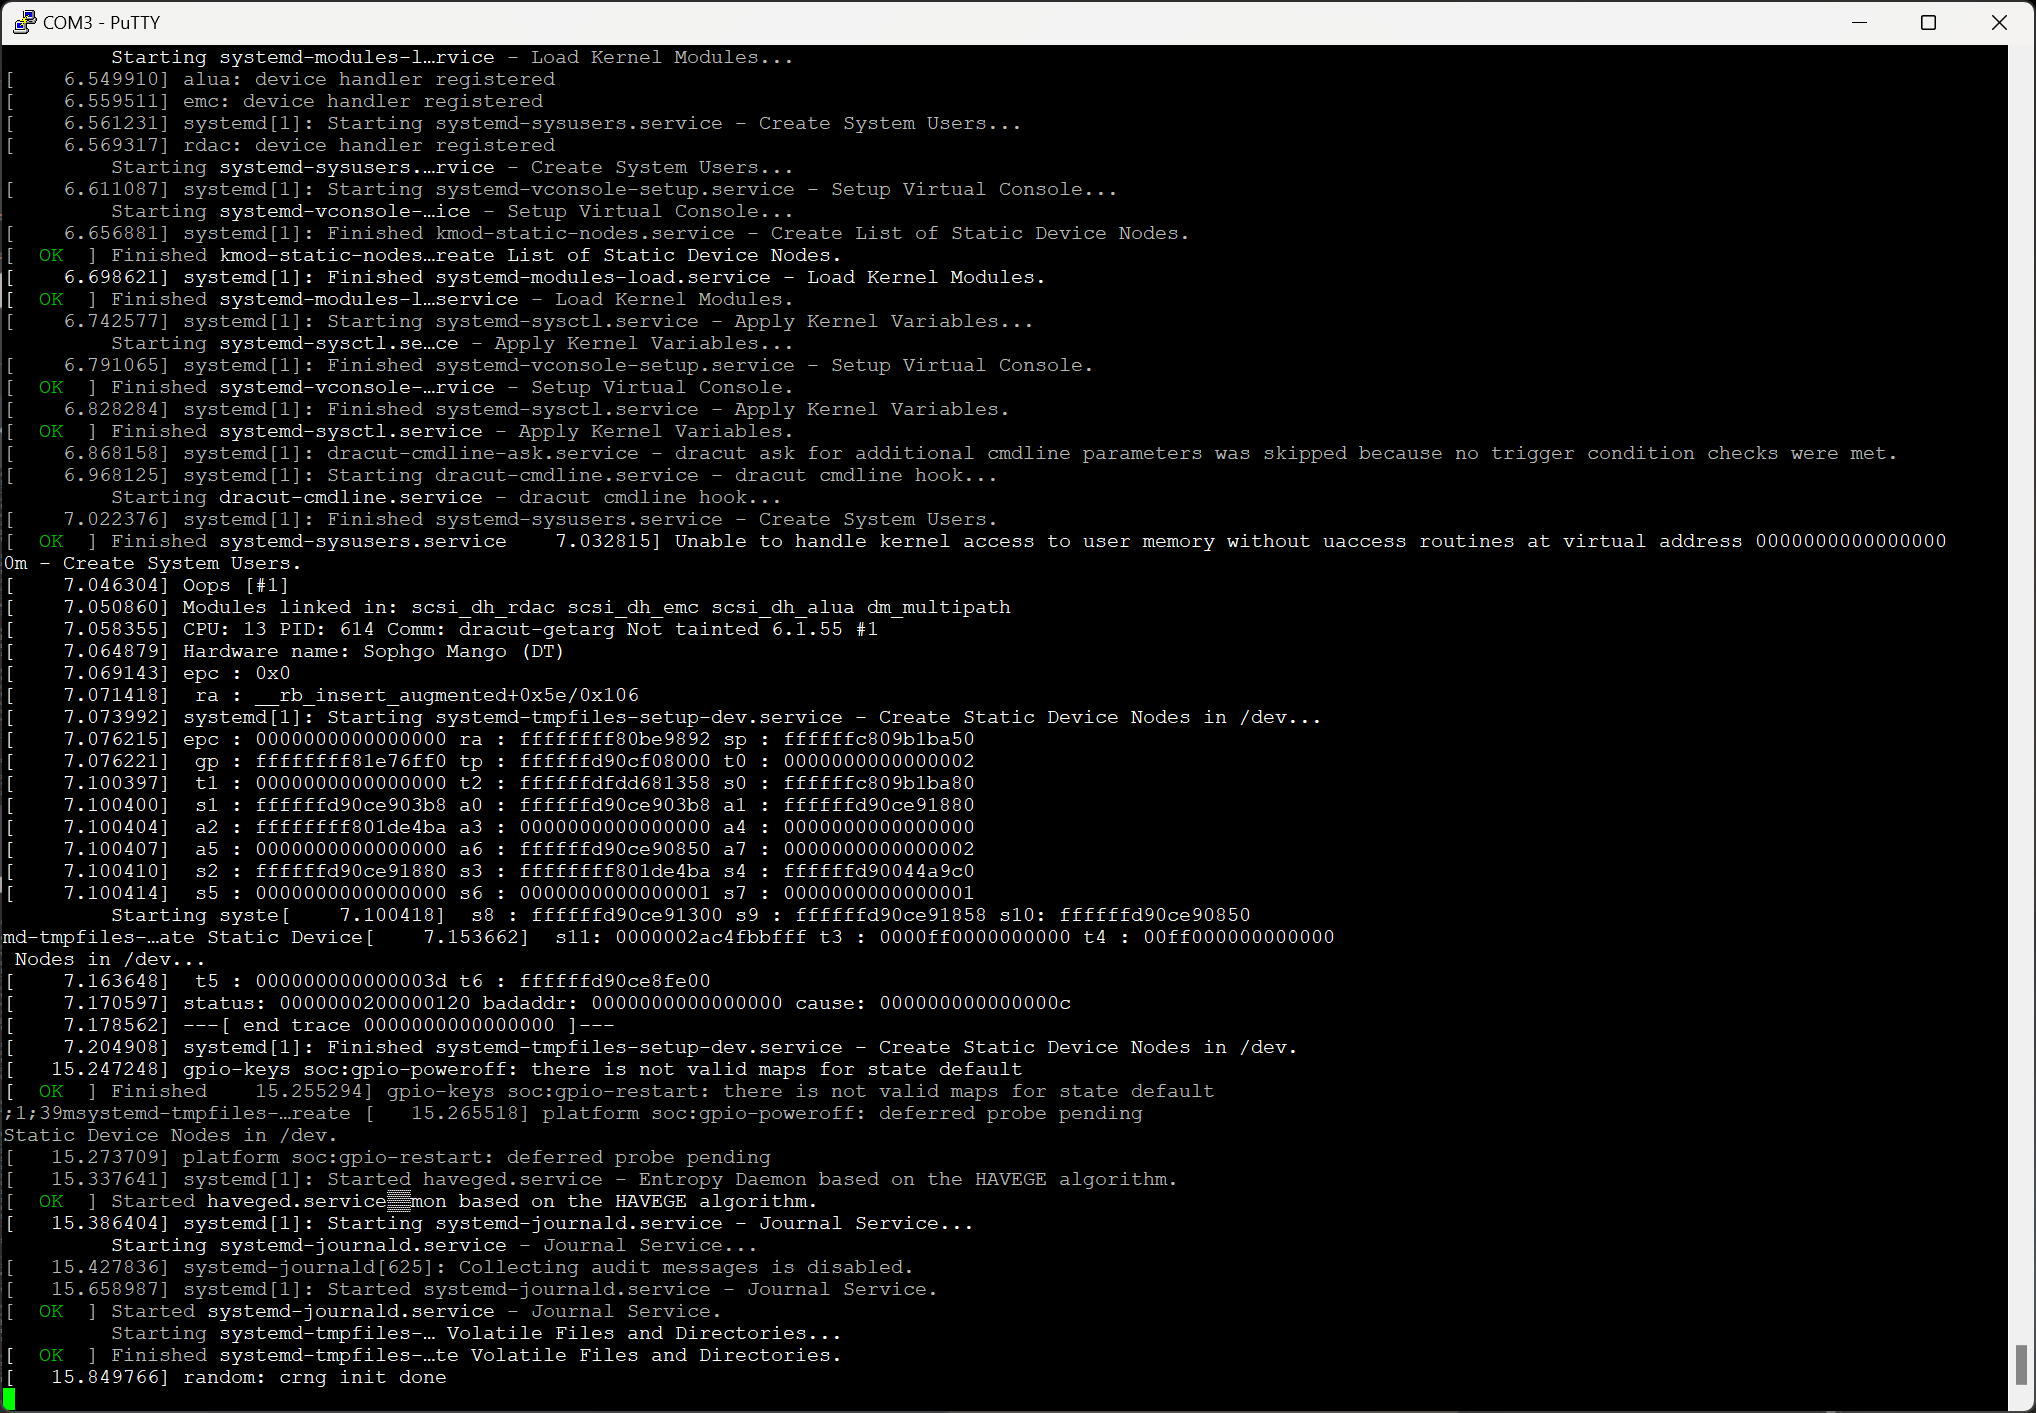
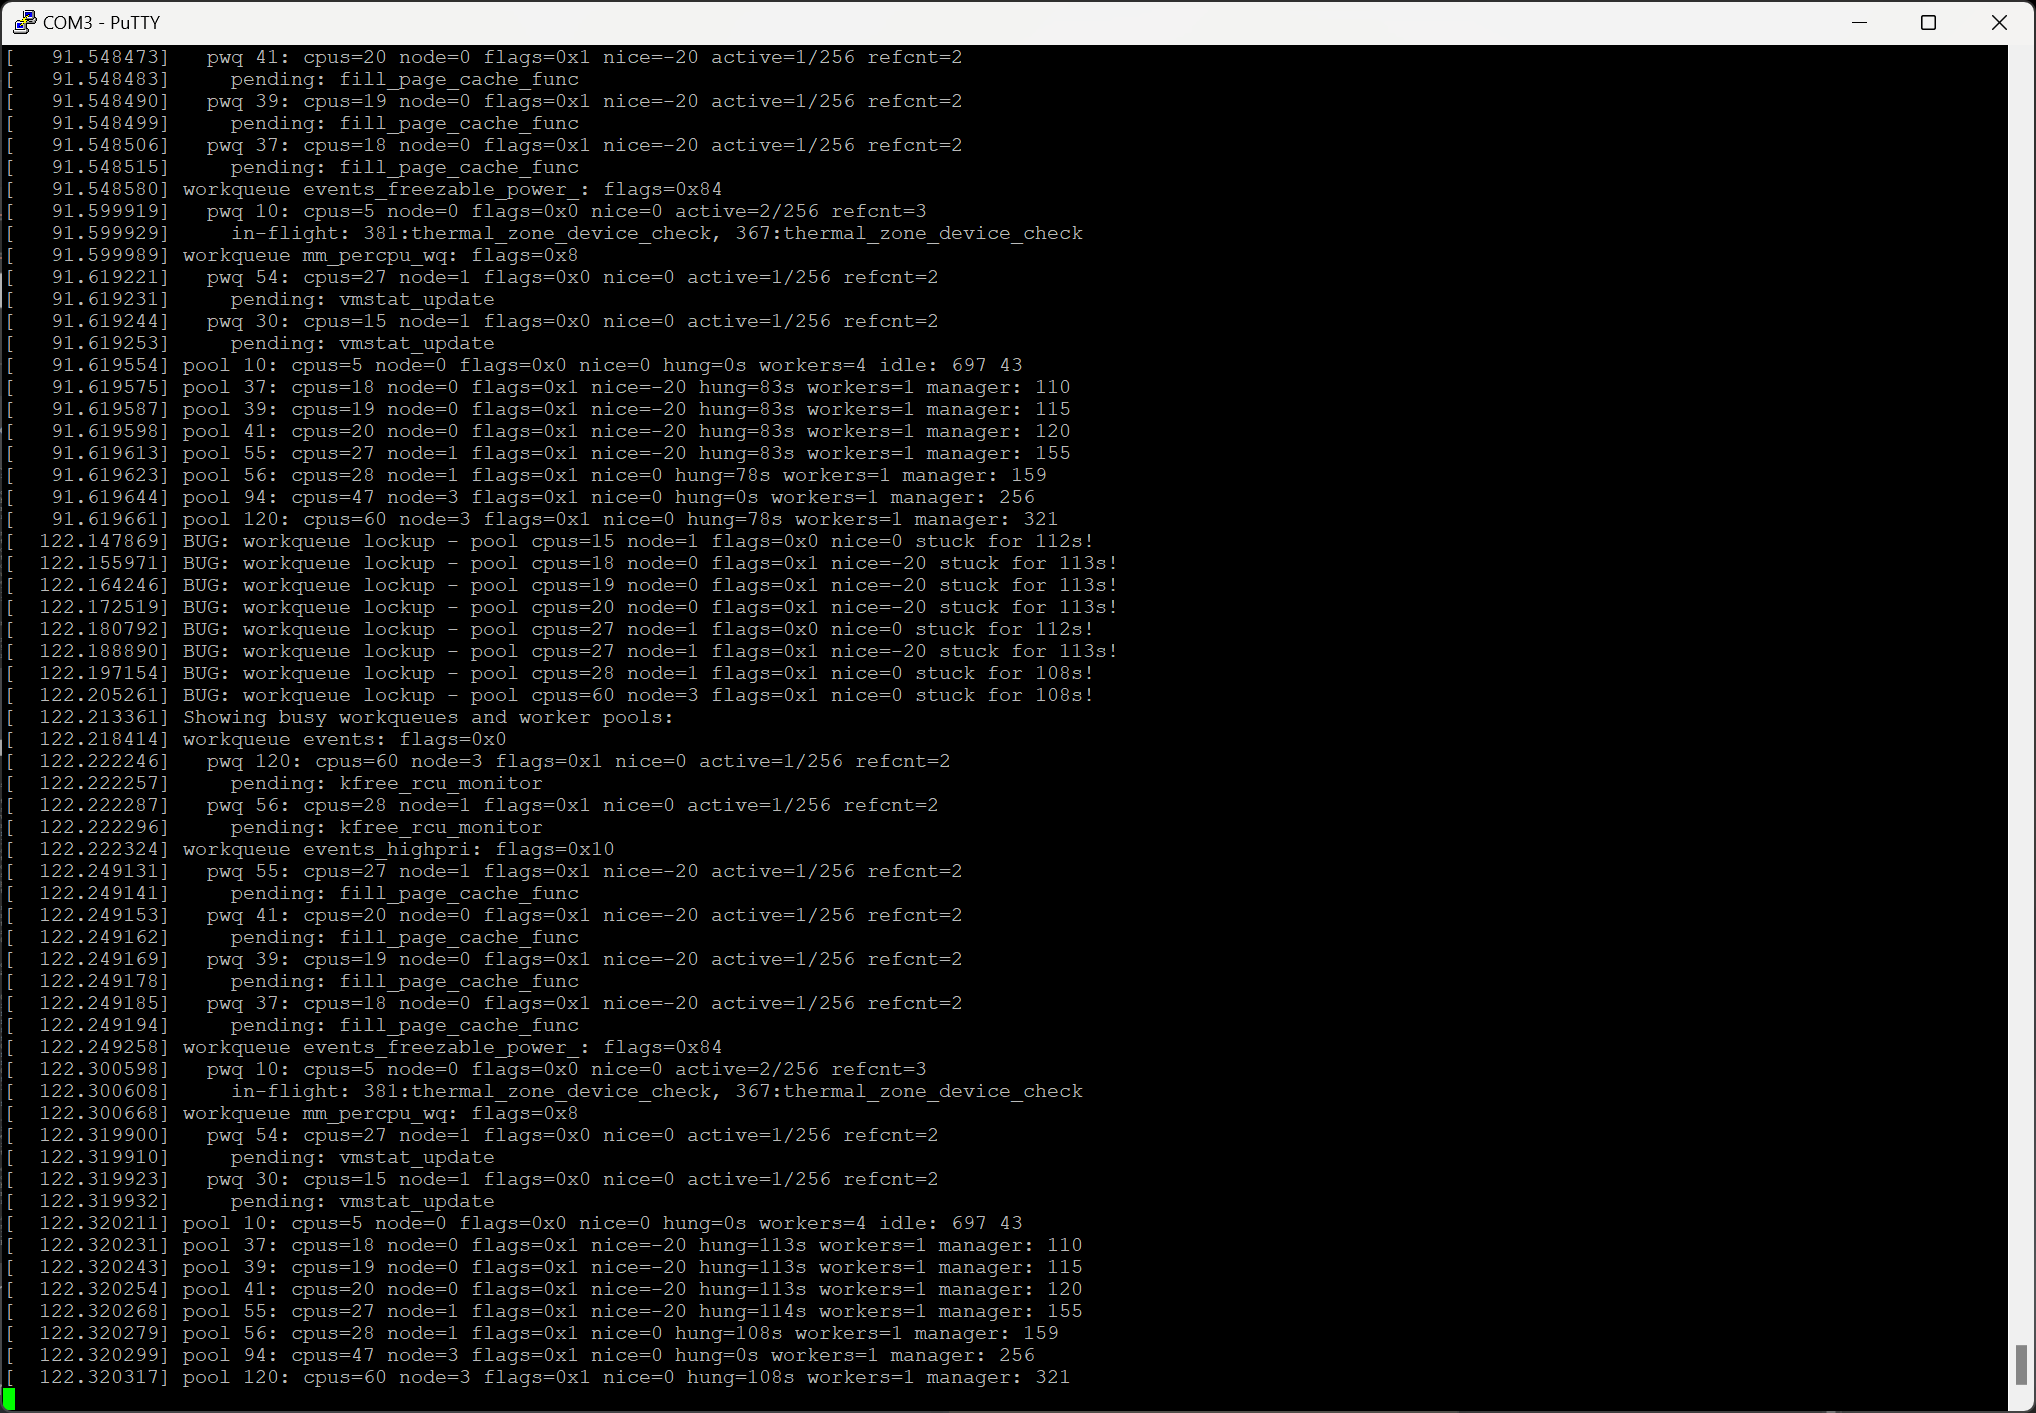
Also have tried following the instructions to boot from the micro SD card slot after flashing the Fedora image, but still the same behavior.

I tried a Sandisk SDXC 1TB card, which didn’t work. I also tried a Sandisk 32GB card, which also didn’t work.

I ordered a few other SD cards to try soon, including a Raspberry Pi branded one, which another poster mentioned working.

Anyway, for anyone who has gotten just the board and managed to get it to boot, if you could say more about how you managed that and what components you got to work, that would be great.

At this point it’s hard to tell what the problem is, or whether maybe the board or chip is faulty. As far as I know, there is no board manual available either so I’m not sure if the flashing green light is supposed to indicate a problem.

1 Like

Our experience is limited, but the first task was to get a serial console accessible. We used an LVTTL serial adaptor and our first sign of life was from the MCU port. It’s not very useful, just confirms you have voltages up, and the LEDs do the same.

Secondly, we had to find compatible RAM. I’m not sure what the exact limits were, but ECC is very likely required. Without this, the CPU console port never output anything. I believe you’re past this hurdle based on the console output you posted in Matrix.

Thirdly, we needed a good bootloader image. There was something preloaded on the SPI Flash, but not knowing much about it, we used SD boot. OS installation steps | Milk-V should be the place to start, but the fedora-disk-gnome-workstation_riscv64-f38-20230515-035559-25m image linked there has a buggy bootloader! It only worked with some 16G cards (IIRC), and even then one of them broke (possibly due to unintended overclocking; I believe the SD transfer frequency message from ZSBL was added along with that fix). We requested an updated image and fedora-disk-gnome-workstation_livecd-f38-20231010-033114.n.0-fix would boot, including with larger SDXC cards.

We also tried ordering more RP branded cards but got generics, so YMMV on that. They’re likely Sandisk cards anyhow.

Fourthly, we have PCIe instability, on everything beyond the switch chip. This includes USB and the M.2 slots. The Ethernet ports are also on that side, but appear more resilient. We work around this by using an M.2 adapter in a main PCIe slot to connect the SSD. However, even there the PCIe transfer rates appear to be at minimum. This is our next issue to investigate.

Best of luck!

2 Likes

I have tried both a Kingston and Samsung 64GB SDHX and both work. The problem is, on my box the bootloader and/or the OS shipped on the NVME is broken and while booting from SD should bypass it, it doesn’t. because it’ll always prefer to boot the NVME.

What I did was:

  • connect a simple USB-C to USB-A data cable to the front USB-C port
  • configured minicom on the A side to 8n1 115200 baud
  • waited for the boot menu
  • chose Linux shell (option 05)
  • dd if=/dev/zero of=/dev/nvme0n1 bs=1M count=1
  • shutdown -r now

Then the box booted from the SDcard no problem.

There is basically no documentation on the Pioneer (hopefully just yet) so I hope this helps someone.

2 Likes

Did you ask them to post that updated Fedora 38 image somewhere?

I found a link here:

https://milkv.fyi/en/distros.html#disk-images

Trying it today. Not sure why it isn’t on the official “getting started” pages…

I can confirm the “fedora-disk-gnome-workstation_livecd-f38-20231010-033114.n.0-fix.raw.xz” image works. Time will tell how it compares to the earlier one, but since it’s quite a bit newer I would expect it to be better overall. The “mv-rootfs.sh” script is missing in /opt. It can be downloaded from the official Pioneer getting started page, but needs some tweaks to work with this image.

1 Like

For those having boot / power on trouble, I would suggest the following:

  • Connect a USB-to-serial cable to the “mcu” serial debug header in the lower right corner of the motherboard. The pinout is marked on the silkscreen. On the cable that came with my motherboard, I connected black=GND, green=RX, white=TX, and red=(unmarked). Protocol is 115200 baud, 8N1, no flow control.
  • Type ‘help’ to list available commands. The onboard mcu should respond with a list.
  • I have had success powering on the board with the ‘poweron’ command, and even the ‘poweron_rv’ command (when the board fans are running but the processor does not appear to be).

I have found it extremely useful to connect BOTH debug serial ports simultaneously. That way when you issue a command to the mcu, you can see the result (if any) from the risc-v console. Of course you’ll need an extra USB-to-serial cable.

1 Like

You wired the RISC-V header the same way you wired the MCU connector? GREEN=RX, WHITE=TX ?

Yes, same wiring. Green wire is connected to pin marked “RX” on board. Note that the risc-v debug serial will not output anything until the bootloader starts. I can kickstart this by “poweron” or “poweron_rv” on the mcu serial port. Hence why it is useful to have both serial ports hooked up at the same time.

Nothing I try will get the ZSBL to output on the RISC-V header.

So I assume there is something wrong the 64GB SDCard I have. Will need to try and find a smaller one. 16GB. The card looks fine when I check it on another host.

I’m assuming you burned the SD card with balenaEtcher?

I frequently encounter the following risc-v serial debug port output at poweron:

SOPHGO ZSBL
sg2042:v0.2

sg2042 work in single socket mode
chip0 ddr info: raw data=0x5050505, 
    ddr0 size:0x800000000
    ddr1 size:0x800000000
    ddr2 size:0x800000000
    ddr3 size:0x800000000
SD initializing 100000000Hz (transfer frequency at 25000000Hz)
sd card init ok
open 0:riscv64/conf.ini failed
conf.ini should start with "[sophgo-config]"
have no conf.ini file
rv boot from sd card
SD initializing 100000000Hz (transfer frequency at 25000000Hz)
sd card init ok
0:riscv64/fw_dynamic.bin file size is 270032
sdhci read data timeout
MMC_disk_read: assert

The timeout message at the end seems to be the defining issue. Not sure what to make of it, other than note that its intermittent.

1 Like

That output looks to be coming from ZBSL on an RV core not via the MCU output.

In my case, I purchased a bare Pioneer board. I’ve tried both of the Fedora images posted, along with a variety of microSD cards and several different ECC DDR4 RDIMMs, including one with parts from the AVL. So this is beyond getting annoying, but I’ll try one of the “official” DDR sticks the Milk-V folks are selling and see what happens.

Generally, a word of advice to the Milk-V folks: you’ve got what looks like a nice embedded board for folks to play with RV, albeit you don’t have the right RVV spec and a bunch of other stuff. But it’s not a bad embedded board. But please don’t promote something as a “workstation” or a “server” and hawk it the way you have been with folks like LTT pushing out content as well. That’s just the wrong way to position this thing. It doesn’t have useful docs, and the experience is very underwhelming if you’re expecting to have something that is “plug and play”. I wasn’t expecting it to be plug and play :slight_smile: But others will come here expecting something that this is not. It’s a great dev board, and you should be proud of what you’ve accomplished. But…moderate the positioning.

1 Like

Sorry, yes, risc-v debug port output. I’m not quite convinced it’s a hardware problem at this stage… could perhaps be addressed in boot firmware. We are definitely in the alpha stage with this board. Marketing makes it sound more beta… I will remain optimistic it will get sorted :crossed_fingers:

I’ve now tried several DIMMs others have mentioned and I still get no output on the RISC-V serial header. I do see the MCU is alive. Shame there are zero docs on any jumpers or other debug options. Is there a JTAG story here where I can dig into why I get nothing on the UART from at least the bootloader printing a banner?

1 Like

It appears to me from my problems getting things to boot that the boot loader won’t output anything until AFTER the memory controller is configured.

Once I found a stick of RAM that worked, I was able to see output on the RISCV serial console header and everthing else worked.

I suggest you start by trying other memory. See the other posts with mentions of memory that worked. (1Rx4 didn’t work for me, 2Rx8 is but only one stick. 2Rx4 worked for someone else)

Also, use only ONE stick of RAM in the slot closest to the PCI connector.

1 Like

Helpful tips based on my experience thus far:

  1. Connect your usb-to-serial cable (115200 8N1) to the “mcu” debug port before powering on the board. Verify that you receive text when powering on the board. “help” lists commands. “poweron”, “poweroff”, and “reboot” are quite handy.

  2. With your usb-to-serial cable connected to the “risc-v” debug port, power on the system with no SD card installed. An incompatible or flaky SD card will stop the boot process and you may see no text on this port. Without an SD card installed, it should at least try to boot from the onboard SPI flash, and you’ll see the ZSBL and openSBI output within 5-10 seconds of powering on the board. If it’s still blank, disconnect ALL peripherals and PCIe cards, including NVMe: if it remains blank after poweron, suspect your RAM is not compatible.

  3. Once you have verified that your RAM is working, you can try adding back in peripherals one at a time, and then work on your SD card image and SD card boot.

(Note: This is based on my several-days-long experience with a v1.3 board. If someone can verify that v1.2 boards do show ZSBL output from onboard SPI flash, then the above tips should still apply.)

2 Likes


I appear to be getting output over the usb-to-serial cable for the boot process.

However, I’m getting a CPU stall shortly after the Welcome to Fedora 38 Workstation Edition. I’m suspecting it is a ram-related problem. However, I do not have other sticks I can test.

I am using M393A4G43AB3-CWECO 32GB 2Rx8 Samsung ram.

1 Like

A single DIMM or a full set of 4?

Maybe try just a single DIMM in the slot closest to the PCI-Express slot? If you have 4 DIMM’s, rotate through all 4 as single DIMM configurations?

I get a very similar failure at a different point with each stick by itself. I’ve tried multiple configurations to no avail.

I’m waiting for a single Micron ram module to arrive that was mentioned in another thread and I’ll give that a go.