I will give some hits from my experience, related to the development.
Some soldering skills are required nowadays.
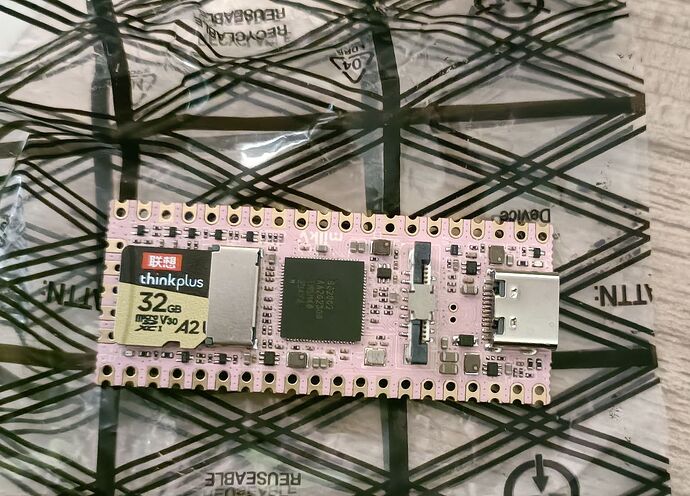
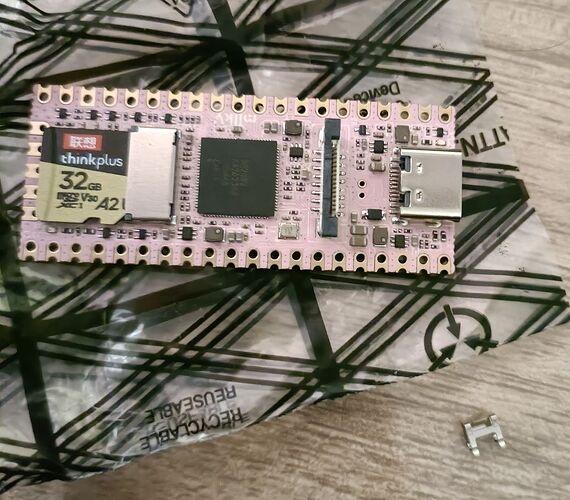
I have solder the pin heads and connected the USB to UART adapter(which I already had) to the board, as the RNDIS is not working, although I have the right USB-C cable…
Also I have followed the instruction provided here to connect my board to the network.
I have burned Ubuntu on the SD card and booted.
https://xyzdims.com/3d-printers/misc-hardware-notes/iot-milk-v-duo-risc-v-esbc-running-linux/
I have installed the last provided Ubuntu image:
milkv-duo-archlinux-riscv64-2023-10-09-7.0gb-v0.0.3-spiritdude.img
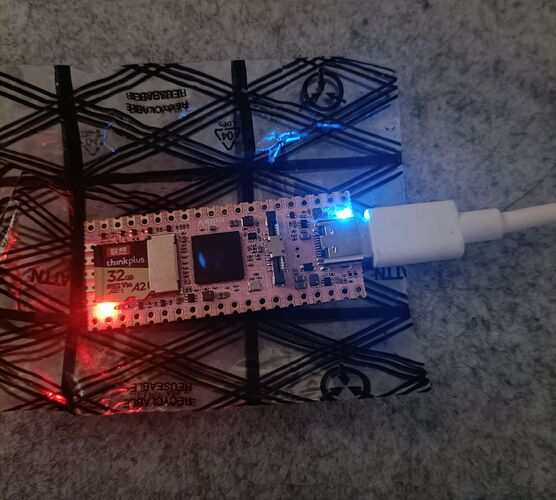
Once the above have been setup. I started the board and connected over serial.
Once connected with user root and default pass milkv I was able to configure the new route on the device:
> ip route del via 192.168.42.2
then added my router ip which is the gateway also:
> ip route add via 192.168.178.1
Finally it looks like this:
> ip route show
default via 192.168.178.1 dev eth0
192.168.42.0/24 dev usb0 proto kernel scope link src 192.168.42.1 linkdown
192.168.178.0/24 dev eth0 proto kernel scope link src 192.168.178.58
pinging 8.8.8.8 should give you a hint is everything is working:
> ping 8.8.8.8
PING 8.8.8.8 (8.8.8.8) 56(84) bytes of data.
64 bytes from 8.8.8.8: icmp_seq=1 ttl=116 time=22.1 ms
64 bytes from 8.8.8.8: icmp_seq=2 ttl=116 time=22.3 ms
64 bytes from 8.8.8.8: icmp_seq=3 ttl=116 time=21.4 ms
I’m not sure what kind of DUO board do you have, I have seen all kind of colors, my board is green and it’s a DUO 64MB.
have tried to compile the code on my PC and run it on the board, but run into an error, the code was not running, due to some missing libs… I have tried to install them on board Ubuntu but without luck.
Then I said I can make the board a development environment, by editing code under vim and running make with a few changes on Makefile.
Now comes the nasty part…
As my board has only 64MB(hopefully I will get soon the ordered board with 256 and 512), apt will be very very slow… but after a couple of days with try and error I have managed to make myself a development environment directly on the board.
Here are some packages I have installed with apt, I don’t have anymore the list of packages installed.(In order to get the list I will have to write the Ubuntu image on a new SD card and to compare the installed packages on both…
apt install git curl wget make gcc g++ file i2c-tools python3 python3-pip spi-tools
The you will have to git clone the milkv duo pinmux and compile it:
git clone https://github.com/milkv-duo/milkv-duo-pinmux
I have cloned the github repo https://github.com/milkv-duo/duo-examples
git clone https://github.com/milkv-duo/duo-examples
then you will have run the following commands in order to get the duo-sdk, but only to copy a few files then it can be deleted:
cd duo-examples
source envsetup.sh
Output:
SDK_DIR: ~/projects/duo-examples
SDK does not exist, download it now...
~/projects/duo-examples ~/projects/duo-examples
SDK_URL: https://github.com/milkv-duo/duo-app-sdk/releases/download/duo-app-sdk-v1.2.0/duo-sdk-v1.2.0.tar.gz
sdk_file: duo-sdk-v1.2.0.tar.gz
--2024-01-26 09:40:53--  https://github.com/milkv-duo/duo-app-sdk/releases/download/duo-app-sdk-v1.2.0/duo-sdk-v1.2.0.tar.gz
Resolving github.com (github.com)... 140.82.121.3
Connecting to github.com (github.com)|140.82.121.3|:443... connected.
HTTP request sent, awaiting response... 302 Found
Location: https://objects.githubusercontent.com/github-production-release-asset-2e65be/656538410/0205284c-8421-4fc2-922e-5eb35fb92379?X-Amz-Algorithm=AWS4-HMAC-SHA256&X-Amz-Credential=AKIAVCODYLSA53PQK4ZA%2F20240126%2Fus-east-1%2Fs3%2Faws4_request&X-Amz-Date=20240126T084054Z&X-Amz-Expires=300&X-Amz-Signature=b395270394d55aa37264906ae4aafb5c10f147d720e18161cec74387c1eab2f1&X-Amz-SignedHeaders=host&actor_id=0&key_id=0&repo_id=656538410&response-content-disposition=attachment%3B%20filename%3Dduo-sdk-v1.2.0.tar.gz&response-content-type=application%2Foctet-stream [following]
--2024-01-26 09:40:54--  https://objects.githubusercontent.com/github-production-release-asset-2e65be/656538410/0205284c-8421-4fc2-922e-5eb35fb92379?X-Amz-Algorithm=AWS4-HMAC-SHA256&X-Amz-Credential=AKIAVCODYLSA53PQK4ZA%2F20240126%2Fus-east-1%2Fs3%2Faws4_request&X-Amz-Date=20240126T084054Z&X-Amz-Expires=300&X-Amz-Signature=b395270394d55aa37264906ae4aafb5c10f147d720e18161cec74387c1eab2f1&X-Amz-SignedHeaders=host&actor_id=0&key_id=0&repo_id=656538410&response-content-disposition=attachment%3B%20filename%3Dduo-sdk-v1.2.0.tar.gz&response-content-type=application%2Foctet-stream
Resolving objects.githubusercontent.com (objects.githubusercontent.com)... 185.199.109.133, 185.199.110.133, 185.199.111.133, ...
Connecting to objects.githubusercontent.com (objects.githubusercontent.com)|185.199.109.133|:443... connected.
HTTP request sent, awaiting response... 200 OK
Length: 193125559 (184M) [application/octet-stream]
Saving to: ‘duo-sdk-v1.2.0.tar.gz’

duo-sdk-v1.2.0.tar.gz             100%[===========================================================>] 184,18M  46,1MB/s    in 4,4s

2024-01-26 09:40:59 (41,9 MB/s) - ‘duo-sdk-v1.2.0.tar.gz’ saved [193125559/193125559]

Extracting duo-sdk-v1.2.0.tar.gz...
~/projects/duo-examples
SDK environment is ready
As next step you will have to copy the following files($SYSROOT is already set by the last ran command):
cp $SYSROOT/usr/include/wiringx.h /usr/include
cp $SYSROOT/usr/lib/libwiringx.so /usr/lib
Here comes the part where you will have to make the Makefile:
TARGET=duo-pinmux

CC = gcc

LDFLAGS = -mcpu=c906fdv -march=rv64imafdcv0p7xthead -mcmodel=medany -mabi=lp64d
CFLAGS = -D_LARGEFILE_SOURCE -D_LARGEFILE64_SOURCE -D_FILE_OFFSET_BITS=64

CFLAGS += -I/usr/include
CFLAGS += -I../include

LDFLAGS += -L/lib
LDFLAGS += -L/usr/lib

SOURCE = $(wildcard *.c)
OBJS = $(patsubst %.c,%.o,$(SOURCE))

$(TARGET): $(OBJS)
	$(CC) -o $@ $(OBJS) $(LDFLAGS)

%.o: %.c
	$(CC) $(CFLAGS) -o $@ -c $<

.PHONY: clean
clean:
	@rm *.o -rf
	@rm $(OBJS) -rf
	@rm $(TARGET)
Running make on that directory will compile you the duo_pinmux which can be used to setup the pins on your board.
