Hi.
Hmmm, may be what avoided the error then was activating the static and dynamic libraries…
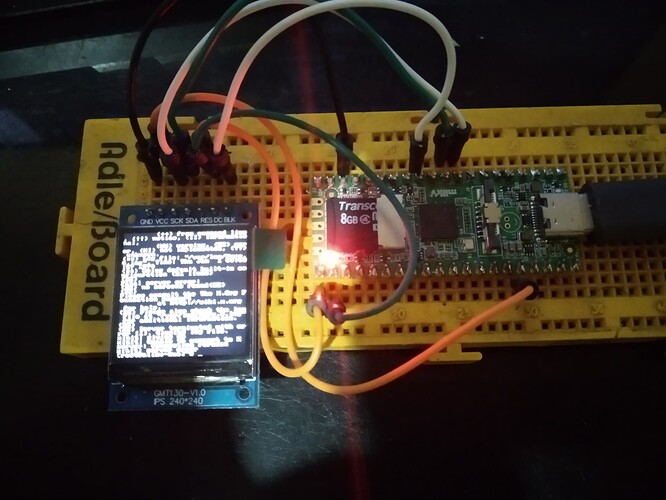
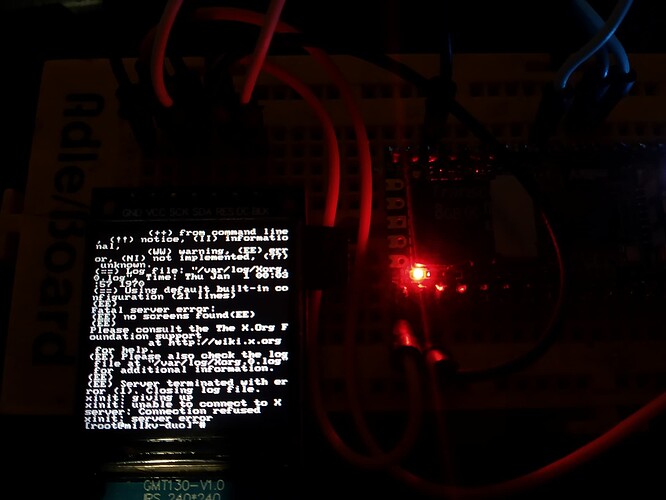
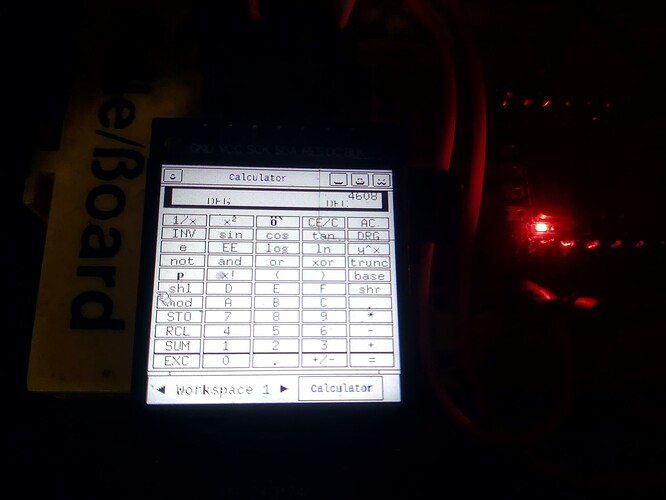
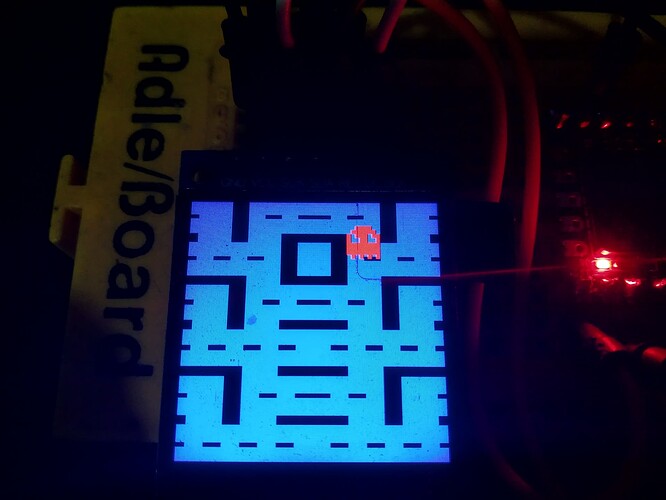
In any case, this is the exact procedure that I follow, I just recreated the image from scratch to ensure these are 100% correct. Keep in mind that these include all the stuff to get the tft working as the primary screen. Also, for me when I start Linux the system itself starts Xorg and if you’re going to use vnc with Xvfb I suppose you will need to disable the auto startup of Xorg, I’m including at the end of the procedure how to do it.
1-Get a fresh copy of the buildroot:
git clone https://github.com/milkv-duo/duo-buildroot-sdk
From here, all the commands assume you’re inside the duo-buildroot-sdk folder.
–The following steps are only for the TFT screen, I think you can skip these safely
2-Modify linux_5.10/drivers/staging/fbtft/fb_st7789v.c with the proper settings for the screen
static struct fbtft_display display = {
.regwidth = 8,
.width = 240,
.height = 240,
.gamma_num = 2,
.gamma_len = 14,
.gamma = HSD20_IPS_GAMMA,
.fbtftops = {
.init_display = init_display,
.set_var = set_var,
.set_gamma = set_gamma,
.blank = blank,
},
};
3-Modify build/boards/cv180x/cv1800b_milkv_duo_sd/dts_riscv/cv1800b_milkv_duo_sd.dts and replace the spi2 description.
&spi2 {
status = "okay";
cs-gpios = <&porta 18 0>;
spidev@0 {
status = "disabled";
};
st7789v: st7789v@0{
compatible = "sitronix,st7789v";
reg = <0>;
status = "okay";
spi-max-frequency = <48000000>;
spi-cpol;
spi-cpha;
fps = <60>;
rgb;
buswidth = <8>;
dc-gpios = <&porta 24 GPIO_ACTIVE_HIGH>;
reset-gpios = <&porta 23 GPIO_ACTIVE_HIGH>;
debug = <0x4000000>;
};
};
4-Modify u-boot-2021.10/include/configs/cv180x-asic.h
"console=tty0 $othbootargs;"
–This has mixed definitions, some are required by the TFT screen, others by Xorg, I would recommend to add all, it will cause no harm. Also, add any other kernel module you need.
5-Modify build/boards/cv180x/cv1800b_milkv_duo_sd/linux/cvitek_cv1800b_milkv_duo_sd_defconfig.
Remove CONFIG_EPOLL=n at the end of the file.
Add
CONFIG_FB_TFT_ST7789V=y
CONFIG_FRAMEBUFFER_CONSOLE=y
CONFIG_VT=y
CONFIG_VT_CONSOLE=y
CONFIG_HW_CONSOLE=y
CONFIG_FB_VIRTUAL=y
CONFIG_POLL=y
CONFIG_EPOLL=y
6-Enter buildroot-2021.05 and execute make milkv_duo_musl_riscv64_defconfig
7-Modify buildroot-2021.05/configs/milkv_duo_musl_riscv64_defconfig
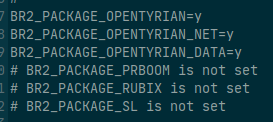
As I have heavily modified the used packages I’m linking the file I use, it includes the static and dynamic libraries, enables debug symbols, includes Xorg, the fb drivers, Xvfb, the basic X apps, nano and more tools, you will need to also add openssh, x11vnc and so on. I just copy the file each time, and if I need to include anything else once copied to the folder I execute make menuconfig, load the file, add the packages and finally store it in a safe place to avoid breaking anything.
8-Generate the SD image
From the duo-buildroot-sdk folder execute ./build_milkv.sh
9-Burn the generated image from duo-buildroot-sdk/out
10-Boot the device, connect it to your computer and using scp copy the missing libraries required by startx:
cd host-tools/gcc/riscv64-linux-musl-x86_64/sysroot/lib
scp * [email protected]:/lib
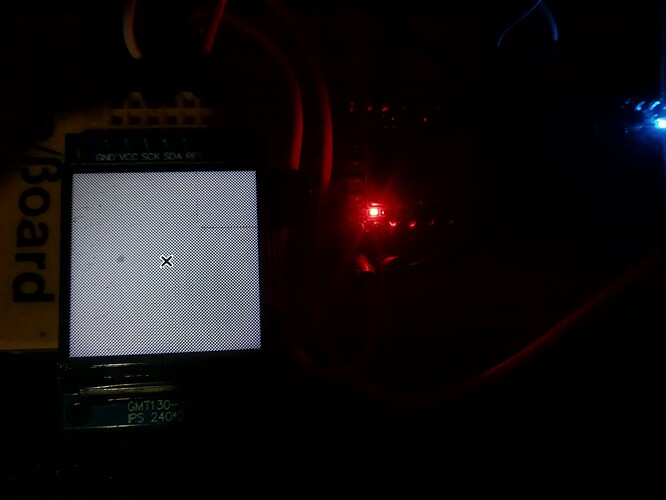
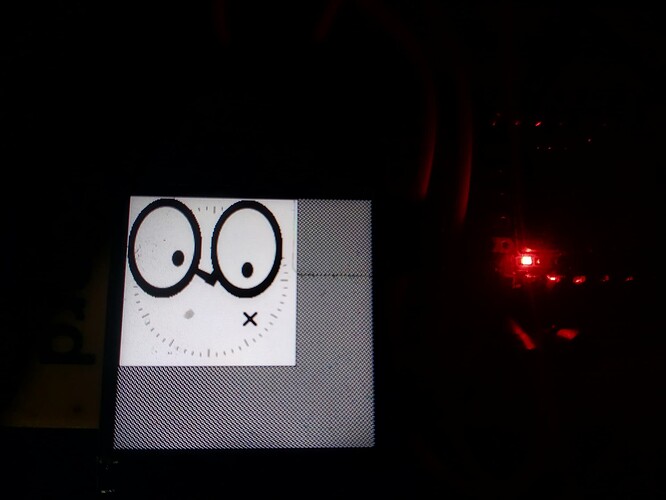
That’s it, with this the image boots with Xorg running on fb0 and the terminal is redirected also to fb0.
To avoid Xorg to start at boot remove /etc/init.d/S40xorg from the SD card.
Cheers!
